Edit panel
The edit panel sits on the right side of the builder and shows the controls for whatever you have selected. With nothing selected, it styles the page itself.
Press ⌘E / Ctrl+E to show or hide it. When it's hidden, click the arrow on the right edge of the window to bring it back. The panel isn't shown while Settings, Data or the code editor is open.
Every change you make here goes straight into your site's code, and the canvas updates right away.
Floating the panel
Drag the dotted grip at the top of the panel (Drag to detach) to float it over the canvas, then move it wherever it's handy. Drag its bottom edge to make it taller or shorter.
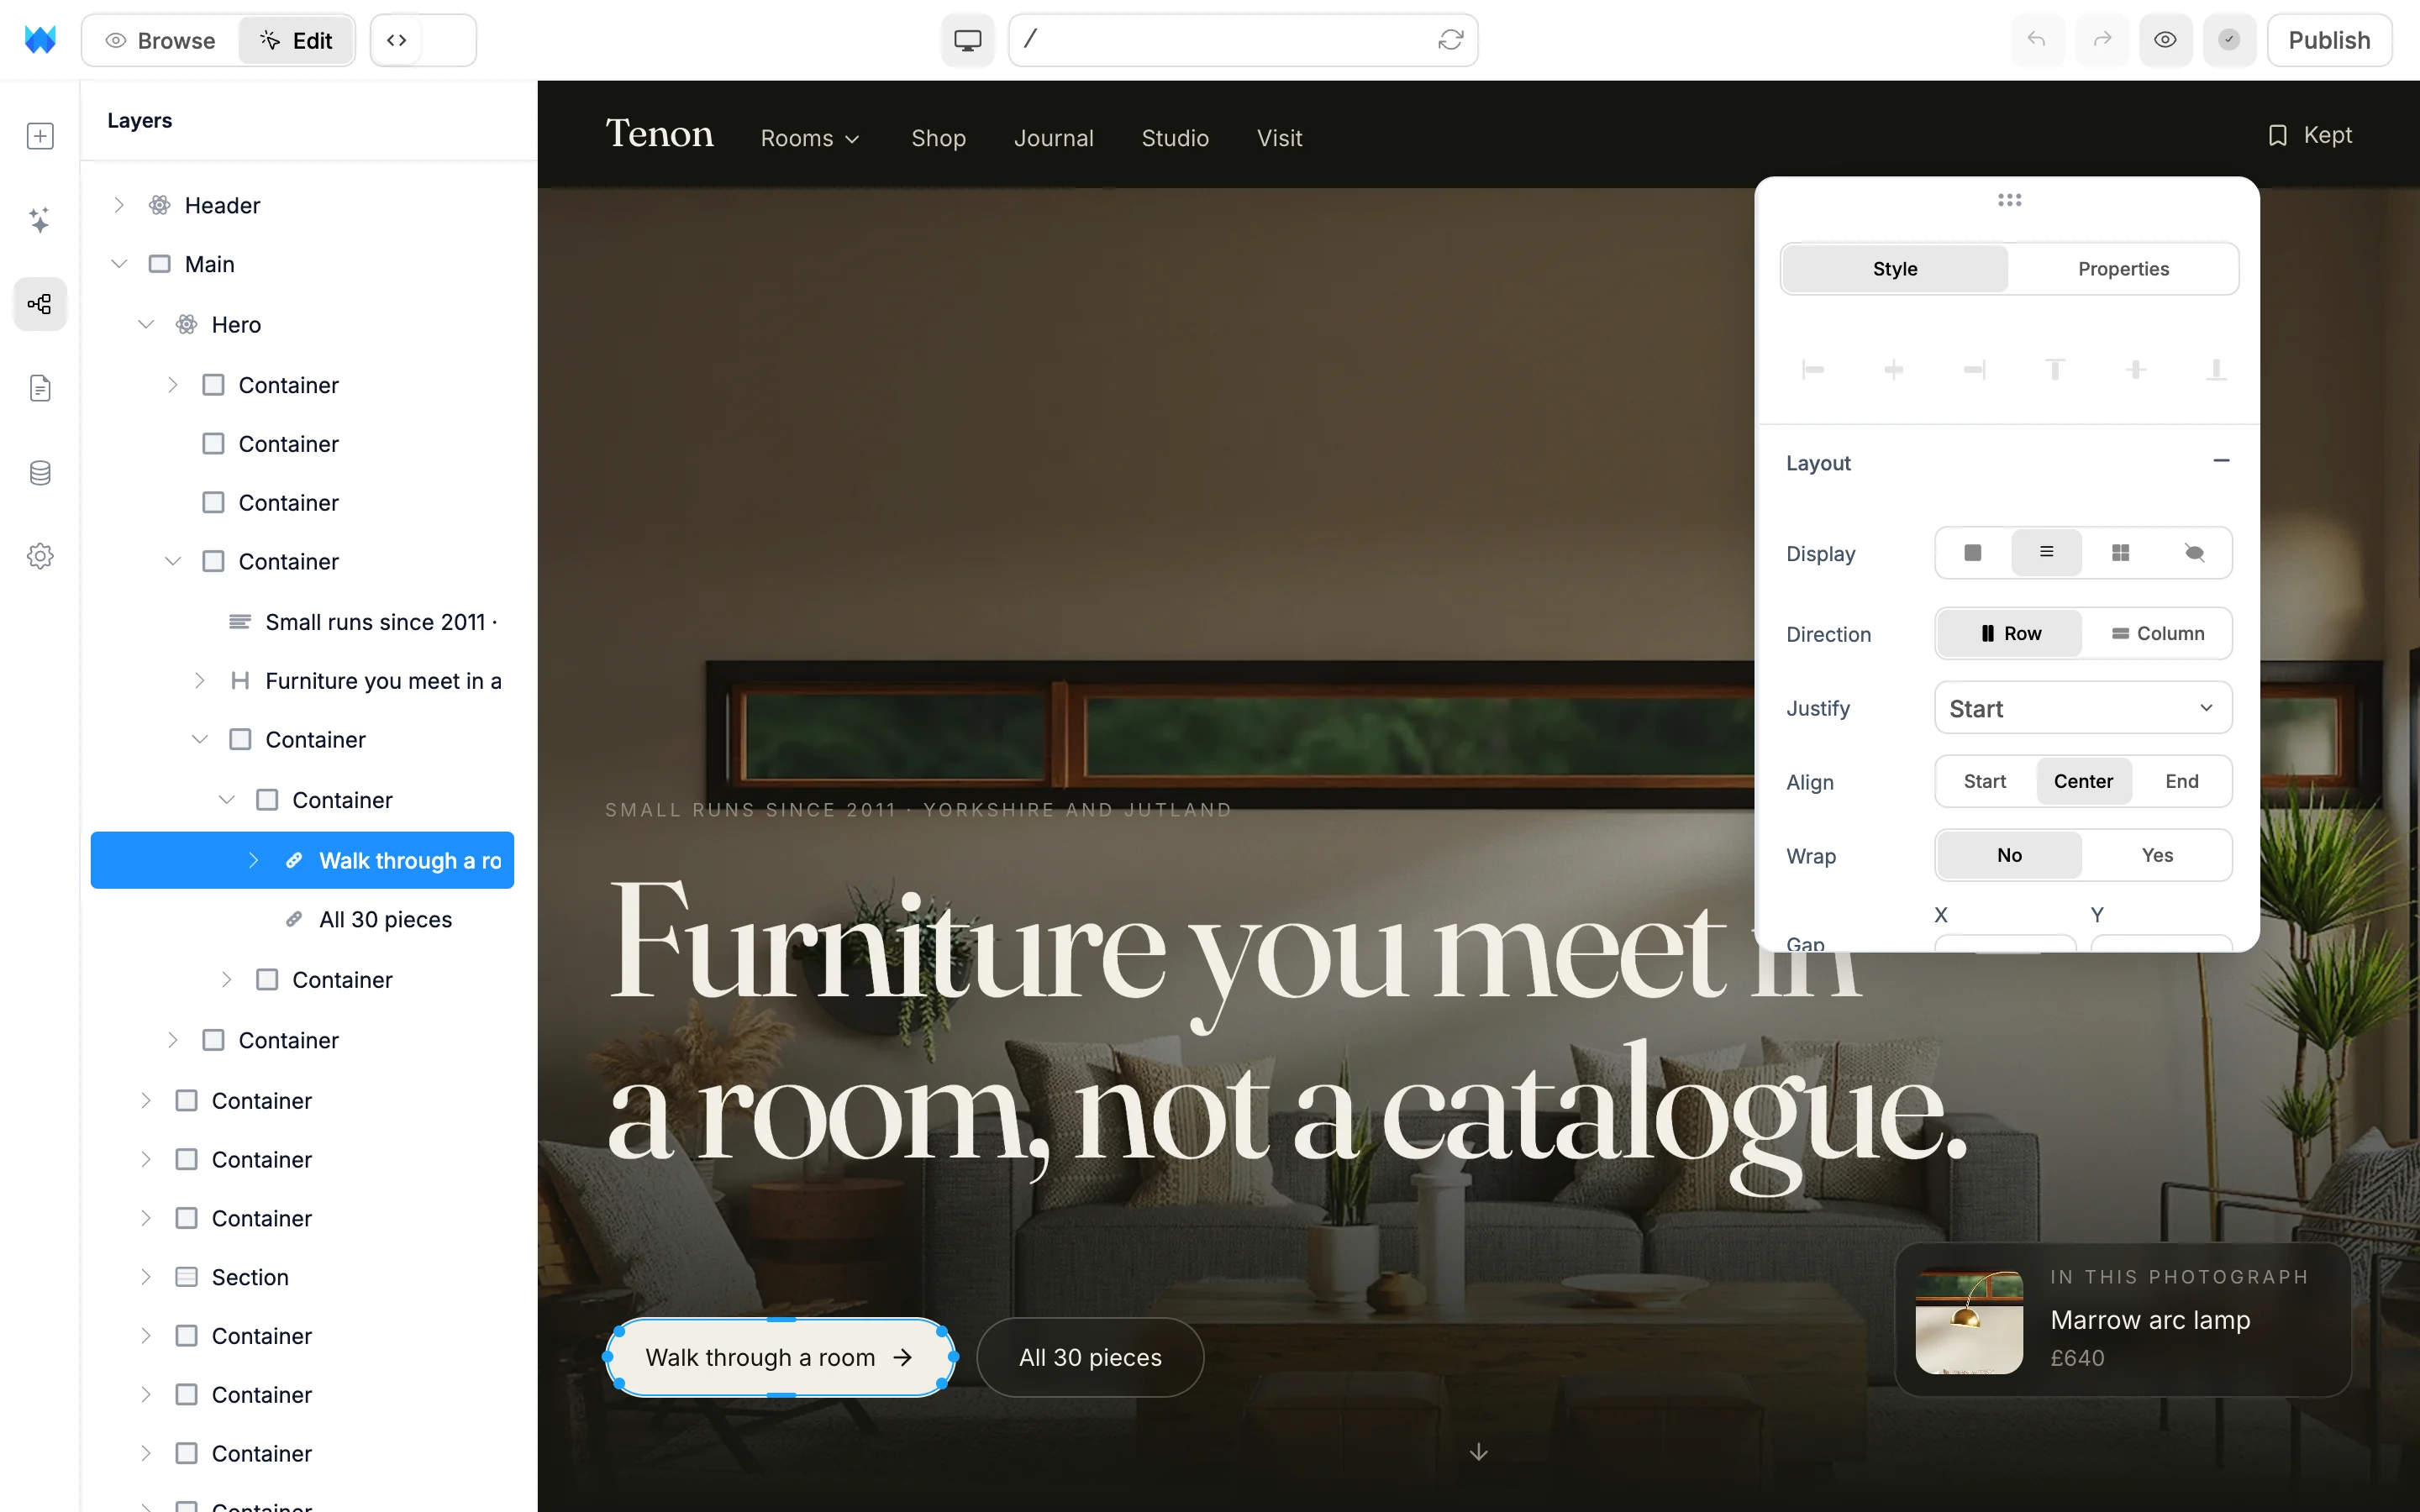
To dock it again, drag it to the right edge of the window. A highlighted strip shows where it will land (Drop at the right edge to dock). The builder remembers whether the panel floats and where you left it.
Page styles
With nothing selected, the panel shows styles for the whole page: Background, Typography, Spacing, Effects, Transitions and Advanced. Spacing sets the page's padding.
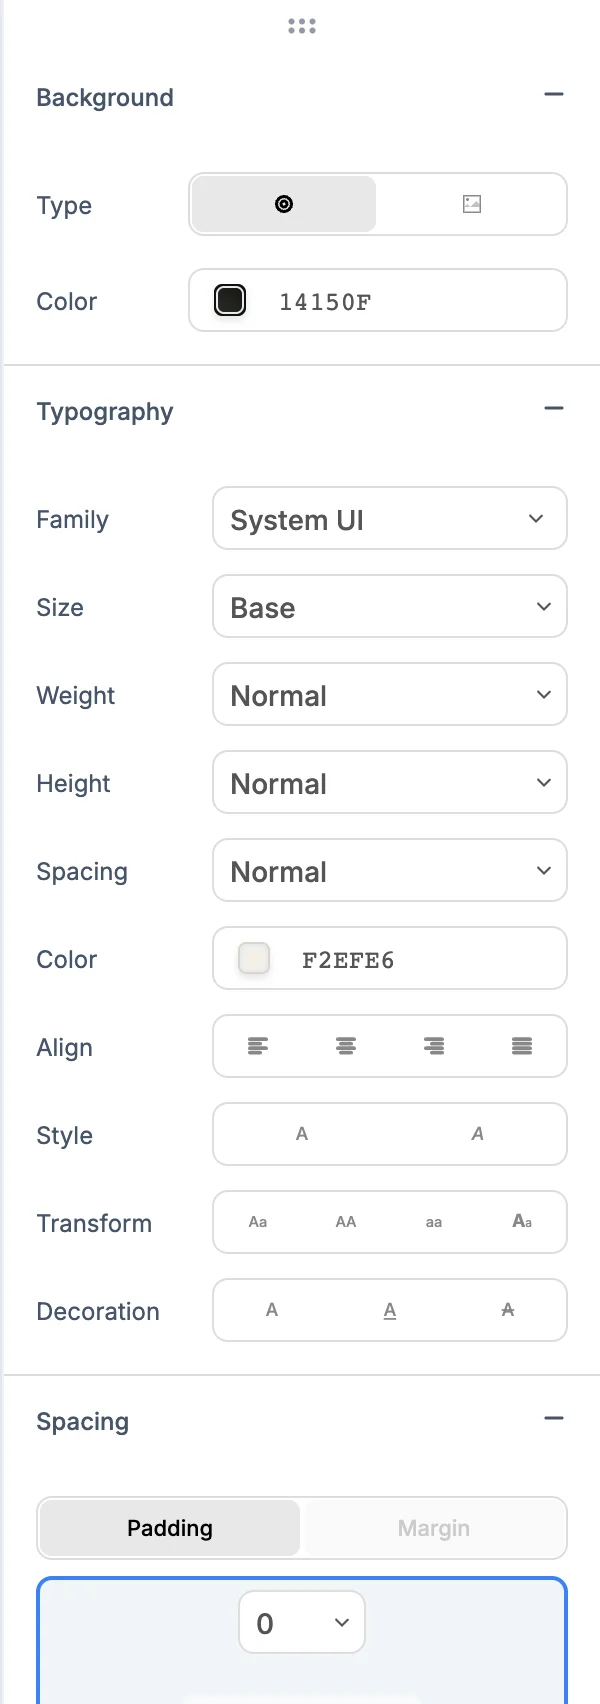
The values match what you see, even when the page color comes from your site's global styles rather than the page itself.
Style tab
Select an element on the canvas or in the Layers panel, and the panel shows two tabs: Style and Properties. The panel remembers which tab you used last.
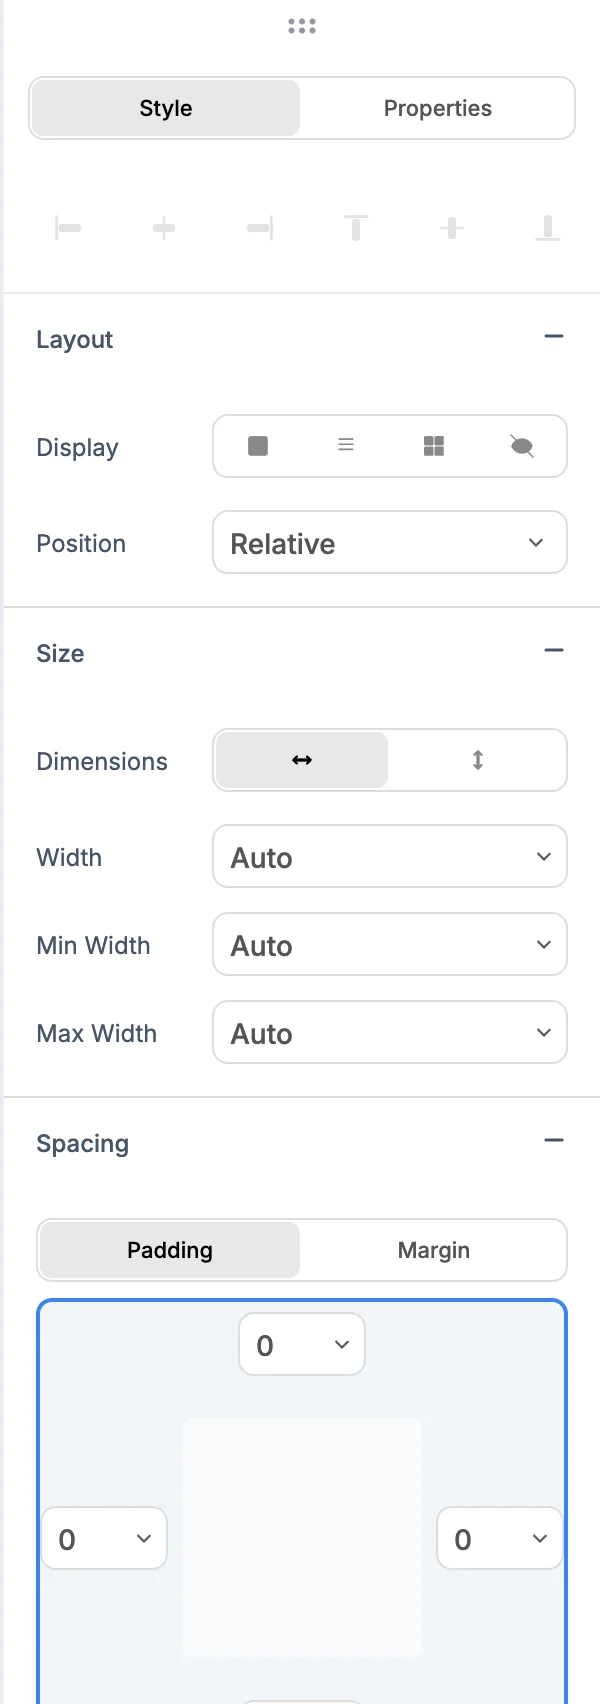
The row of buttons at the top pins an element with an absolute, fixed or sticky position to the left, center or right, and the top, middle or bottom. For other elements they're greyed out. Below them are sections you can open and close, and the panel remembers which ones you keep open.
If you select several elements, Style changes apply to all of them.
Layout
Choose a Display: block, flex, grid or none. The options below change with it:
- Block: Overflow and Float (with Clear when floating).
- Flex: Direction, Justify, Align, Wrap and Gap.
- Grid: Columns, Rows and Gap.
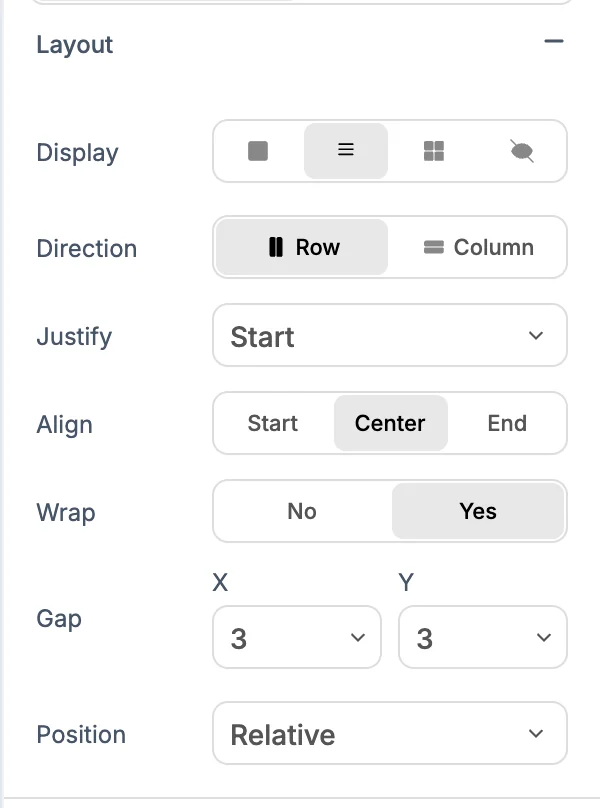
Position sets static, relative, absolute, fixed or sticky. Absolute and fixed add a field for each side: top, right, bottom and left.
Size
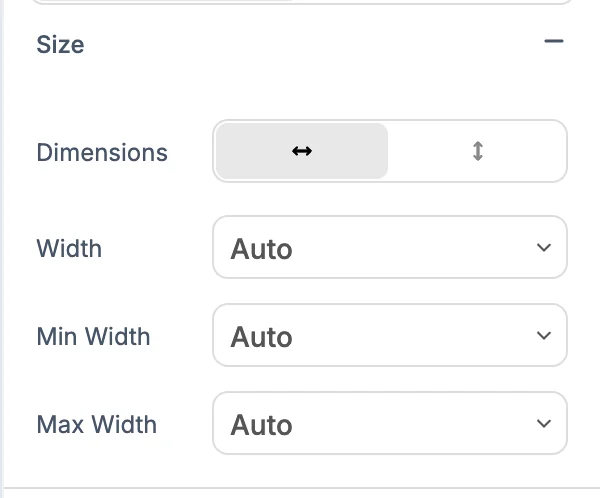
Use Dimensions to switch between width and height. Set Width, Min Width and Max Width (or the height versions) from presets like Auto, Full, Screen and fractions, or type your own value. Overflow controls what happens when content doesn't fit.
Spacing
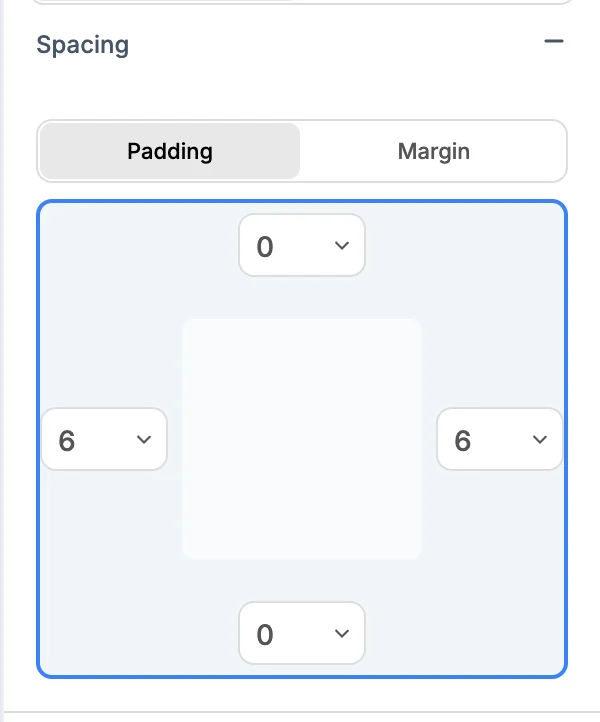
Switch between Padding (space inside the element) and Margin (space outside it), then set each side in the box.
Typography
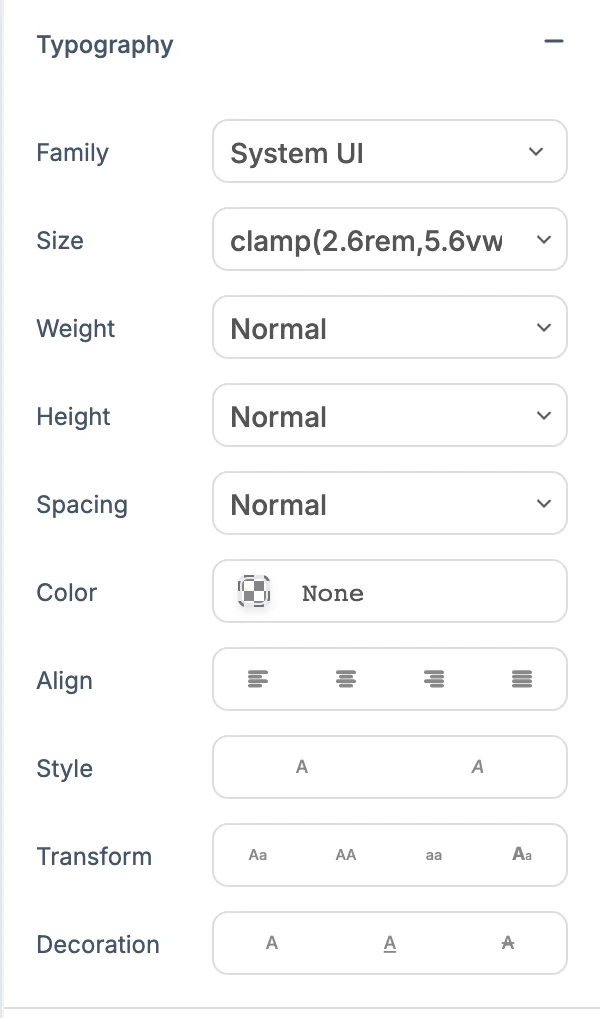
Family, Size, Weight, Height (line height), Spacing (letter spacing), Color, Align, Style (italic), Transform (uppercase, lowercase, capitalize) and Decoration (underline, strikethrough).
Background, border and more
- Background: pick Color or Image as the type. The color picker does solid colors and gradients. An image has Position, Size, Repeat and Attach settings.
- Border: Color, Width, Radius (all corners or each corner), Style (solid, dashed, dotted) and Outline, for all sides or one side.
- Effects: Opacity, Shadow and its color, Blur, Brightness, Contrast, Saturate, Hue and a Filter (grayscale, sepia, invert).
- Transitions: Property, Duration, Timing and Delay, so changes like hover effects animate smoothly.
- Cursor: the pointer shape over the element.
- Advanced: any other style classes on the element. Type a class and press Enter to add it, or remove one from the list.
Properties tab
The Properties tab holds the element's content and settings. Every element has General and Accessibility, followed by sections for its type.
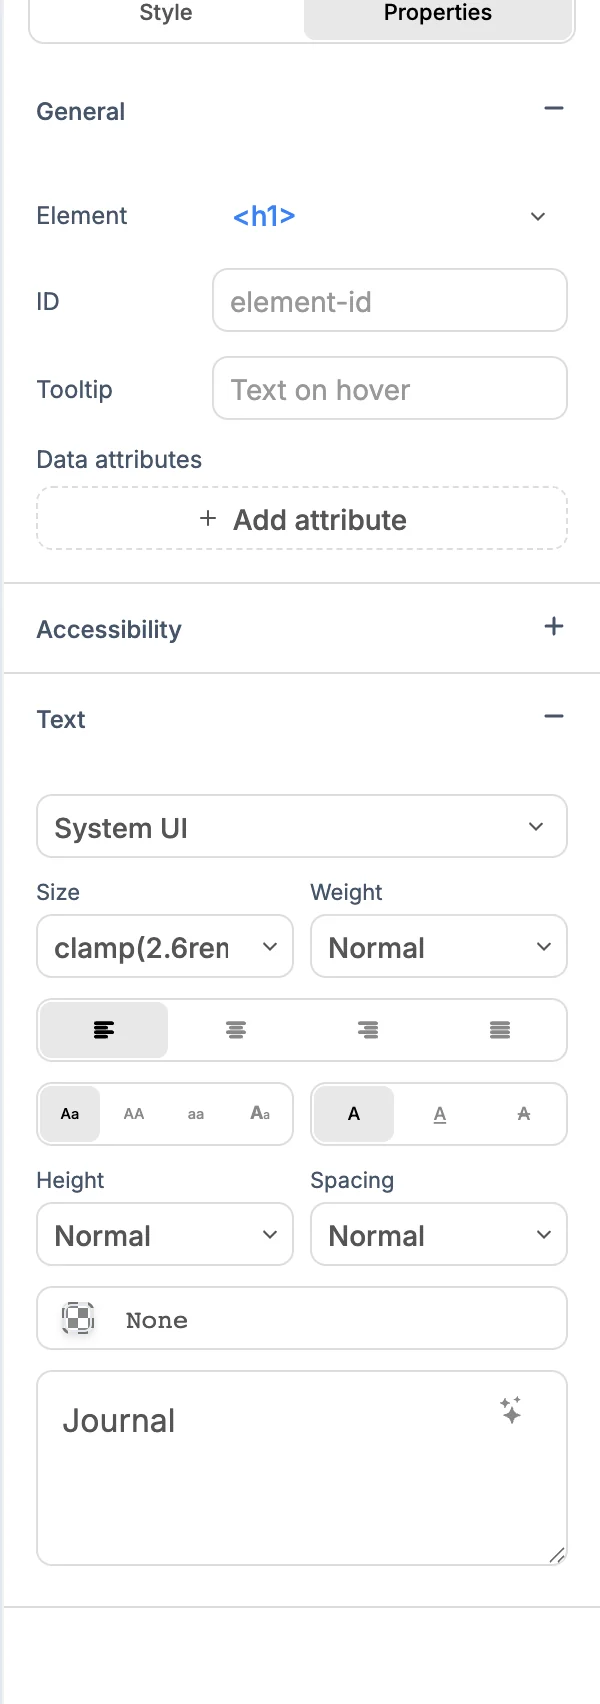
- General: the Element tag (for example, change an
h2to anh3), ID, Tooltip and Data attributes. Click Add attribute to add one. - Accessibility: Label, Described, Role, Tab Index and Visibility for screen readers.
Sections for specific elements include:
| Section | What you can set |
|---|---|
| Text | The text itself, plus font, size, weight, alignment, line height, letter spacing and color. AI Improve rewrites the text for you. |
| Button | Label, Type (Button, Submit, Reset), Disabled, Name, Value |
| Link | URL, Open In (Same Tab, New Tab), Relation, Download |
| Image | Source, Alt Text (leave empty for a decorative image), Loading |
| Input | Type, Name, Placeholder, Value, limits like Min, Max, Max Length and Pattern, and Required, Disabled, Read Only |
| SVG | Icon, Width, Height, Fill, Stroke, Stroke Width |
Textareas, selects, forms, lists, tables, videos, audio and background images have their own sections too, and so do YouTube, Vimeo, Google Maps, Calendly, Typeform, Stripe and PayPal embeds.
Text that comes from code
Some text on a page isn't typed into the page directly. It comes from a list, a prop or a data file, like the title of one card in a row of cards. The Text section tells you when that's the case:
- This text comes from data or a prop. Saving updates it there. Type as usual. Only this item's value changes, where it's defined.
- Shared by every item in this list. Text in {braces} is code. A change here changes every item. Leave the parts in braces as they are.
- Set by code followed by the code. The text is worked out by code, so the field is read-only. Ask the AI to change it.
- Contains nested elements. Select them to edit separately. Click the inner element on the canvas to edit its text.
Copy and paste styles
Copy one element's style and apply it to another:
- Select the element you like and press
⌘⌥C/Ctrl+Alt+C. - Select the element to change and press
⌘⌥V/Ctrl+Alt+V.
Copy Style and Paste Style are also in the right-click menu.
While the AI is working
The panel shows AI is editing and pauses its controls while the AI changes your site. It unlocks the moment the AI finishes.