Elements panel
The Elements panel is where you add things to your page. Click Elements at the top of the left sidebar to open it. It has three tabs: Elements, Layouts and Components.
Drag anything from the panel onto the canvas to add it. It lands where you let go.
Elements
The Elements tab has single building blocks, grouped into sections you can open and close.
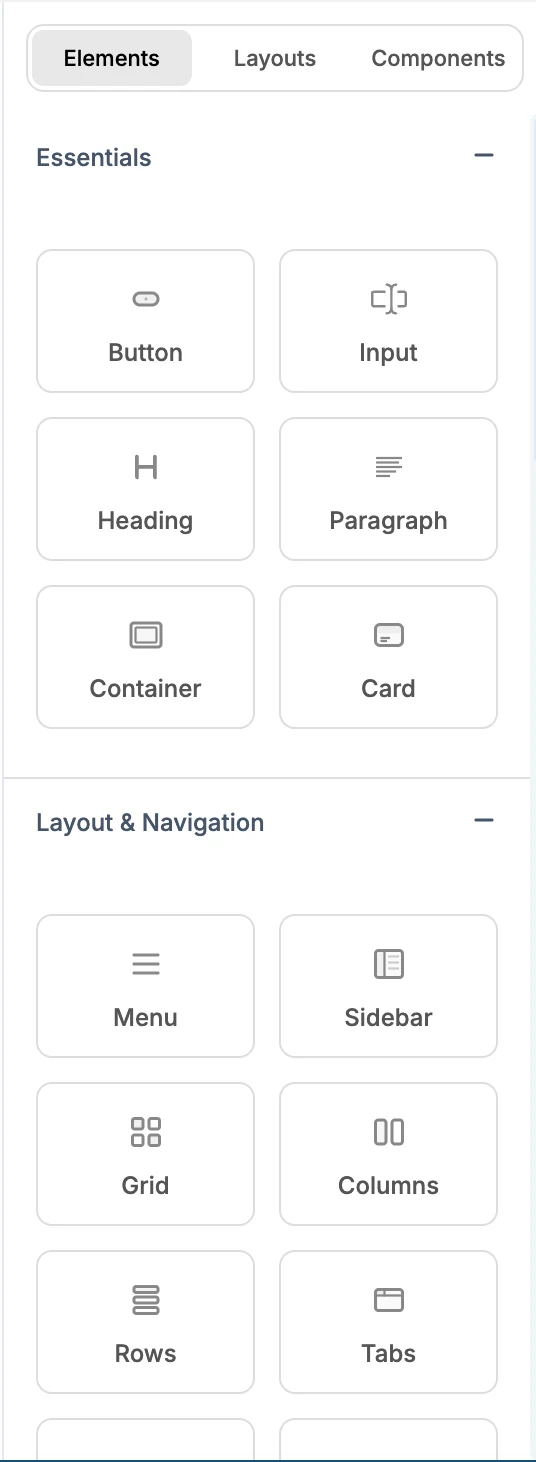
| Section | Elements |
|---|---|
| Essentials | Button, Input, Heading, Paragraph, Container, Card |
| Layout & Navigation | Menu, Sidebar, Grid, Columns, Rows, Tabs, Breadcrumbs, Separator |
| Forms & Inputs | Form, Textarea, Select, Checkbox, Toggle, Radio, Date Picker, Search Bar, File Upload, Range |
| Data Display | Table, List, Badge, Timeline, Pricing Card |
| Feedback & Status | Alert, Modal, Accordion |
| Media | Image, Video, YouTube, Vimeo, Audio, Icon |
| Advanced | Rich Text, Carousel |
| Integrations | Stripe, Google Maps, Calendly, Typeform |
Layouts
The Layouts tab has ready-made sections. Each card shows a simple wireframe of the section's structure, so you can pick by shape. Drag one onto your page, usually between two existing sections.
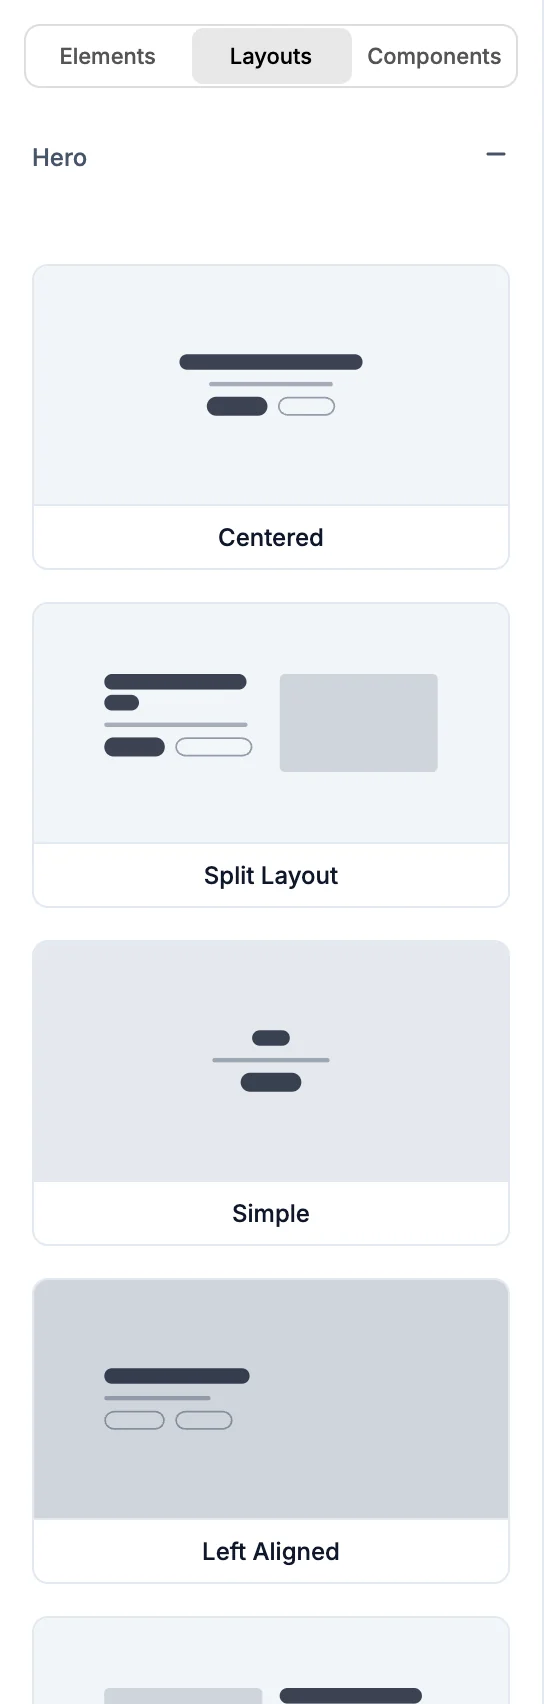
| Group | Layouts |
|---|---|
| Hero | Centered, Split Layout, Simple, Left Aligned, Split Reverse, With Features |
| Features | Grid Cards, Icon Grid, Checklist, Split with Image, Simple Grid, Alternating Steps |
| Stats | Simple 4-Column, Blue Background, Bordered Cards, Large with Descriptions, Split with Image, Minimal 3-Column |
| Call to Action | Bordered Box, Banner with Stats, Image Overlay |
| Pricing | 3-Column Tiers, Monthly vs Annual, Single Plan |
| Testimonials | 3-Column Grid, Featured Quote, 2-Column Cards |
| Contact | Form with Info, Simple Centered |
| Footer | Multi-Column, Simple Centered |
How drops fit your page
Elements and layouts don't land in a stock style. WebTwizz adapts each drop to your site first:
- Your look. It uses the colors, fonts, buttons, cards and spacing your page already has.
- The spot you picked. It sizes itself to where you dropped it, for example one cell of a grid or one column of a row.
- Your pages and content. A Menu or Sidebar is built from your site: your brand name, your pages and the links already in your header. A layout keeps the arrangement you picked, and its items can come from content your site already has. Tabs, Accordion and Carousel fill with your content where they can. Google Maps shows your address when your site mentions one.
- The card next to it. Drop a Card or Button next to one you already have, and the new one is built the same way with its own content.
- Words and pictures for your site. Placeholder text, photos and icons are written or picked for your site right after the drop.
A Menu takes the shape of the spot you drop it in: a full header at the top of the page, a row of links inside a header, or a column of links in a footer. A Sidebar dropped onto the page itself sits beside your content with links to your pages (or to the sections of a one-page site), and becomes a menu button on phones. If your site already has a header and you drop a new one, a note tells you, so you can delete the one you don't want.
Undo (⌘Z / Ctrl+Z) removes the drop and the filled-in content in one step.
Components
Components are the reusable pieces of your site, like a navbar, a pricing card or a footer. The Components tab lists every component file in your project's components folder, apart from the small building blocks kept in a ui folder.
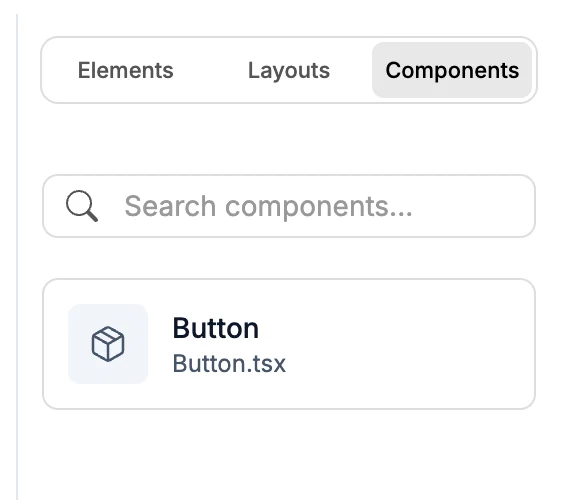
Each row shows the component's name and its file, for example Button.tsx. Use Search components... to filter the list. Drag a component onto the canvas to use it. Every copy on your site points to the same component, so a change to the component shows up everywhere it's used.
If your project has none yet, the tab says No Components.
Creating a component
Right-click any element on the canvas or in the Layers panel and choose Convert to Component, or press ⌘⇧K / Ctrl+Shift+K.
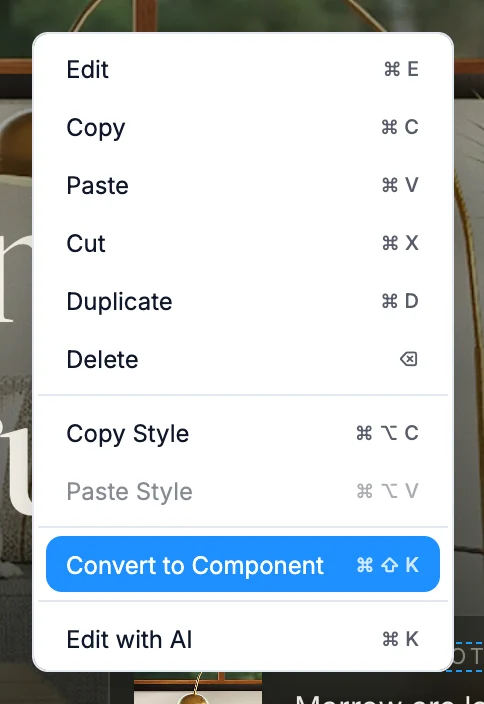
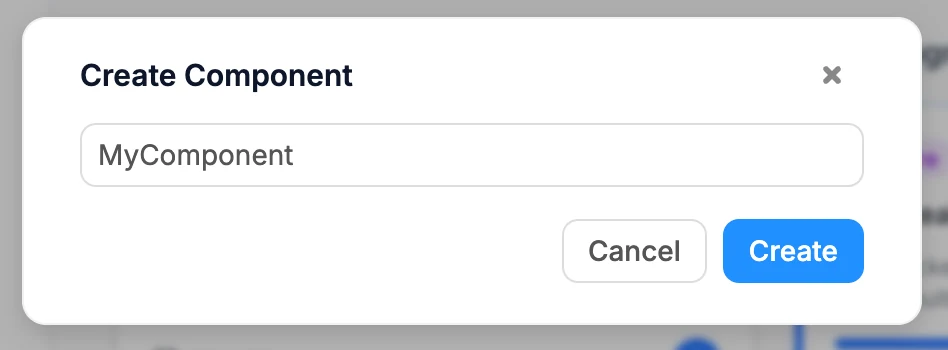
In the Create Component dialog, type a name and click Create. Names use letters and numbers only, and the first letter is capitalized for you. The element moves into its own component file, and the page uses the new component in its place.
Convert to Component doesn't appear for an element that is already a component.
Renaming and deleting components
Right-click a component in the Components tab and choose Rename or Delete.
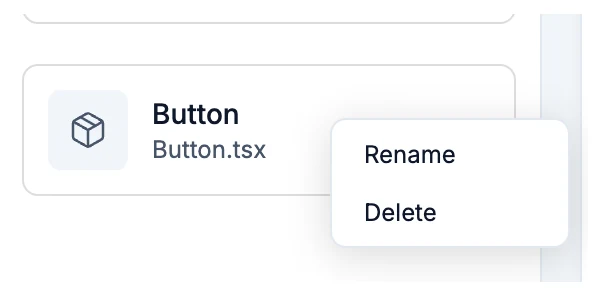
Delete is unavailable while the component is used anywhere on your site.
While the AI is working
The panel is covered by an AI is editing note while the AI changes your site, so your edits can't collide with its edits. It unlocks as soon as the AI finishes.