Preview and publish
The canvas always shows your latest work. Publishing puts it on the web at your site's address, for visitors to see.
Preview your work
There are two ways to try your site before you publish:
- Browse mode. Click Browse in the toolbar to use the site right inside the builder, the way a visitor would. Links, buttons and forms all work. See Browse and Edit.
- Preview button. Click the eye icon in the toolbar to open your site in a new browser tab, at the page you're on. It shows your current work, not your published site.
If the canvas looks stuck, click the refresh button in the path bar. To restart the preview server, hold ⌘ (Mac) or Ctrl (Windows) while you click refresh. A restart takes about 30 seconds.
Publish your site
- Click Publish in the toolbar, or press
⌘⇧P/Ctrl+Shift+P. - Check the address, and pick who can see the site under Visibility.
- Click Publish.
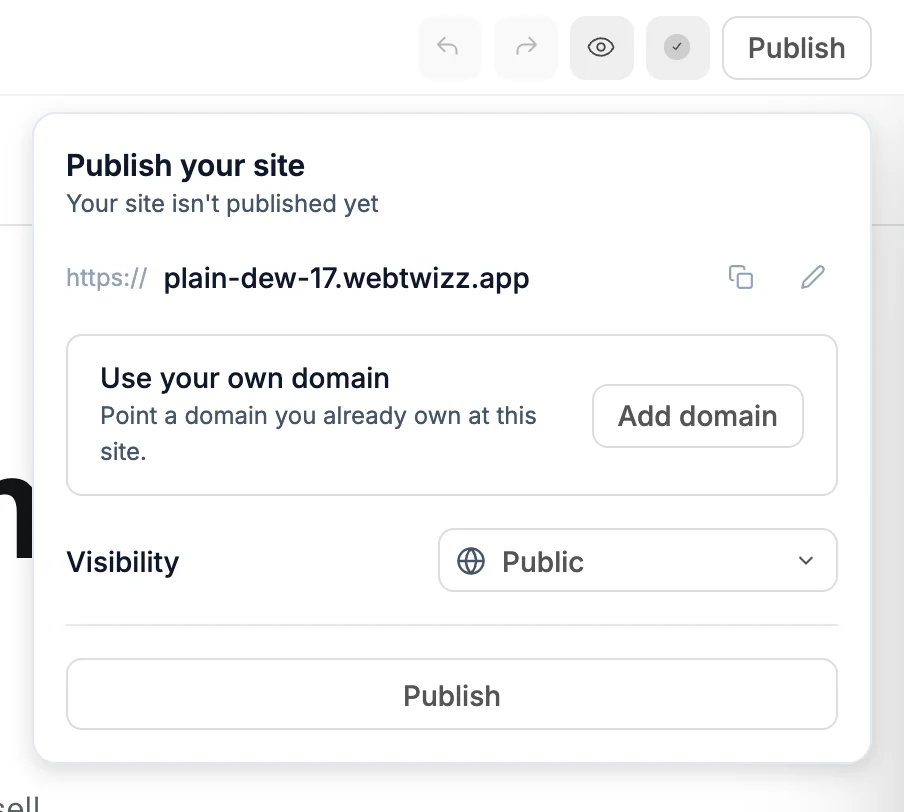
Publishing saves any unsaved changes first, then builds your site. While it builds, the panel shows Publishing, and you can close it and keep working. Click Build log to watch the build.
When it's done, the panel shows Live and when it was last updated. Click the address to open your site, or the copy button to copy the link.
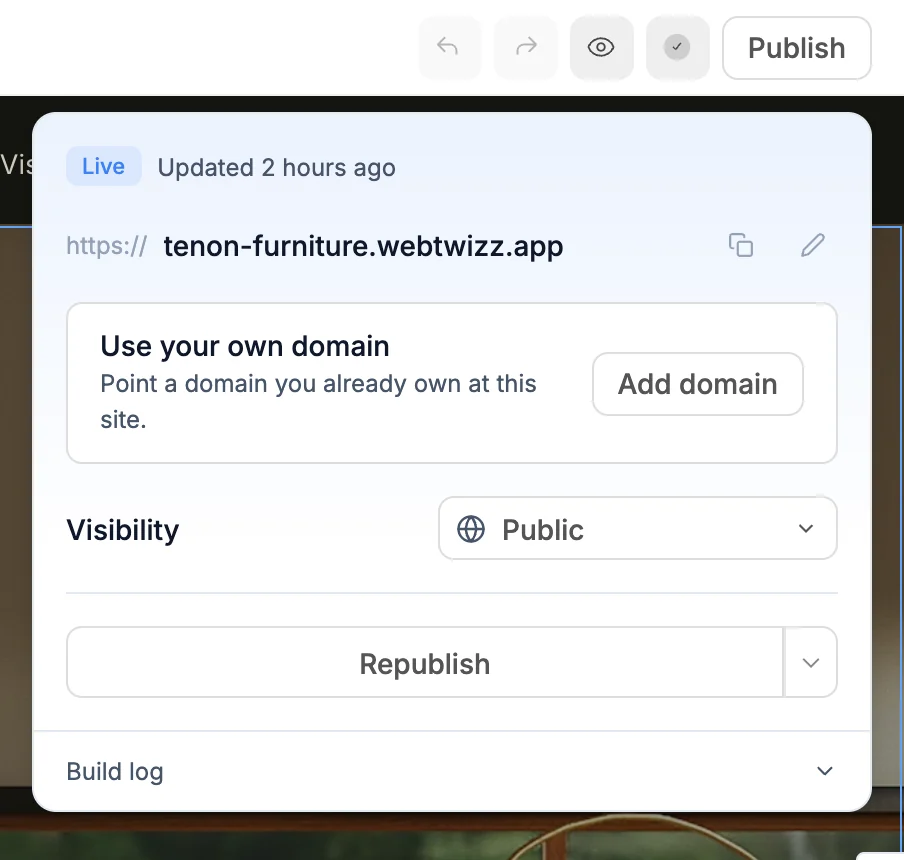
Every site gets a free .webtwizz.app address. Click the pencil next to it to change the name. On a paid plan you can use your own domain: click Add domain, or see Domain settings.
Each plan keeps a set number of sites live at a time. If you reach it, the panel says so. Unpublish another site or upgrade to publish this one.
Publish your changes
Edits you make after publishing stay in the builder until you publish again. Open the publish panel and click Republish.
Environment variables work the same way. If you change them after publishing, the Environment Variables page tells you your preview already uses the new values and your live site still has the old ones. Click Publish in that notice to update the live site. See Environment variables.
To put an older version live, restore it from version history, then publish.
Each publish also updates what search engines see: your sitemap, your search settings and your main address. If you renamed a page since the last publish, its old address forwards to the new one. See Search engines.
Choose who can see your site
Pick an option under Visibility in the publish panel.
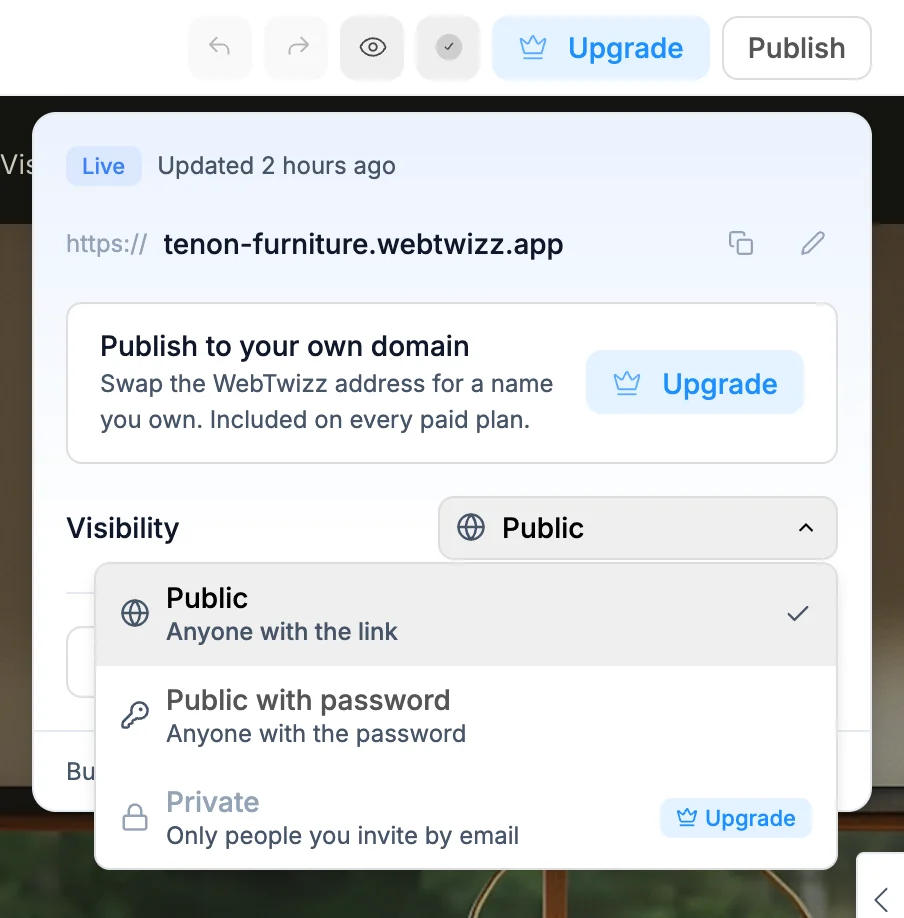
| Option | Who can see the site |
|---|---|
| Public | Anyone with the link |
| Public with password | Anyone with the password |
| Private | Only people you invite by email. Paid plans only. |
- Public with password: type a password of at least 4 characters and click Set. To change it later, type a new one and click Update. Visitors enter the password before the site loads.
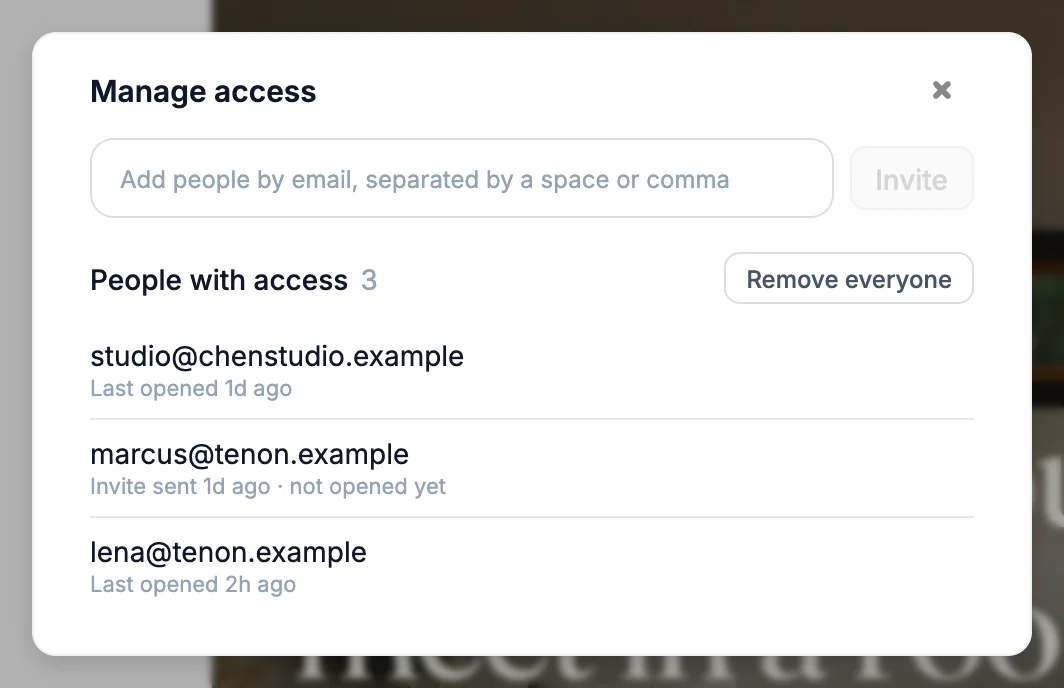
- Private: click Manage access, add email addresses and click Invite. Each person gets an email with a link to the site, right away if the site is already live as private, or when you next publish. Their row shows whether they've opened it. Removing someone blocks them right away.
Visibility changes take effect the next time you publish. Until then, the panel shows Publish for this to take effect. You can also change visibility in Settings > General, under Visibility. See Site settings.
If a publish fails
If the build hits an error, the panel shows Publish failed.
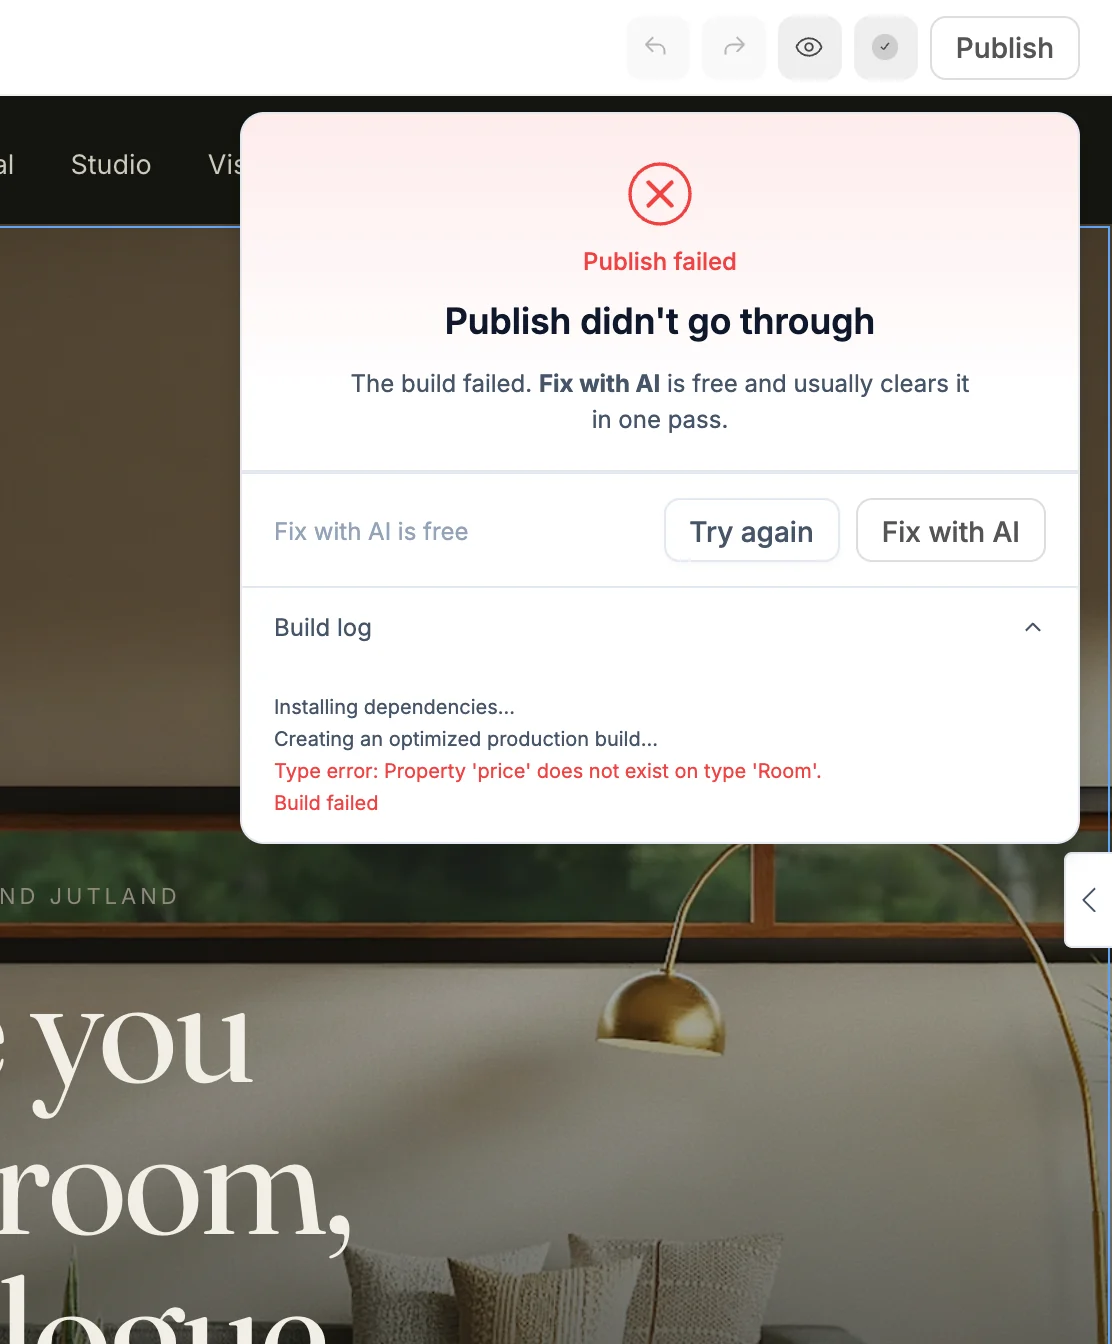
- Fix with AI opens a new AI chat with the build error attached. The AI finds the cause and fixes it. The first reply in that chat is free.
- Try again runs the build again.
Open Build log to see the error yourself.
Unpublish your site
Open the publish panel, click the arrow next to Republish and choose Unpublish. Confirm with Unpublish. Your site goes offline, and you can publish it again at any time.
You can also unpublish from Settings > General, under Danger zone.