Stripe
Take payments and subscriptions on your site with your own Stripe account. Money goes straight to you, and your customers, products and payments live in Stripe.
Connect
- Open Settings > Connectors, click Stripe, then Connect.
- Stripe opens. Sign in, or create a Stripe account, and approve access for WebTwizz.
- You're back in the connector. The project starts in test mode.
Then ask the AI for what you need, like "add a checkout for my three plans".
What you see
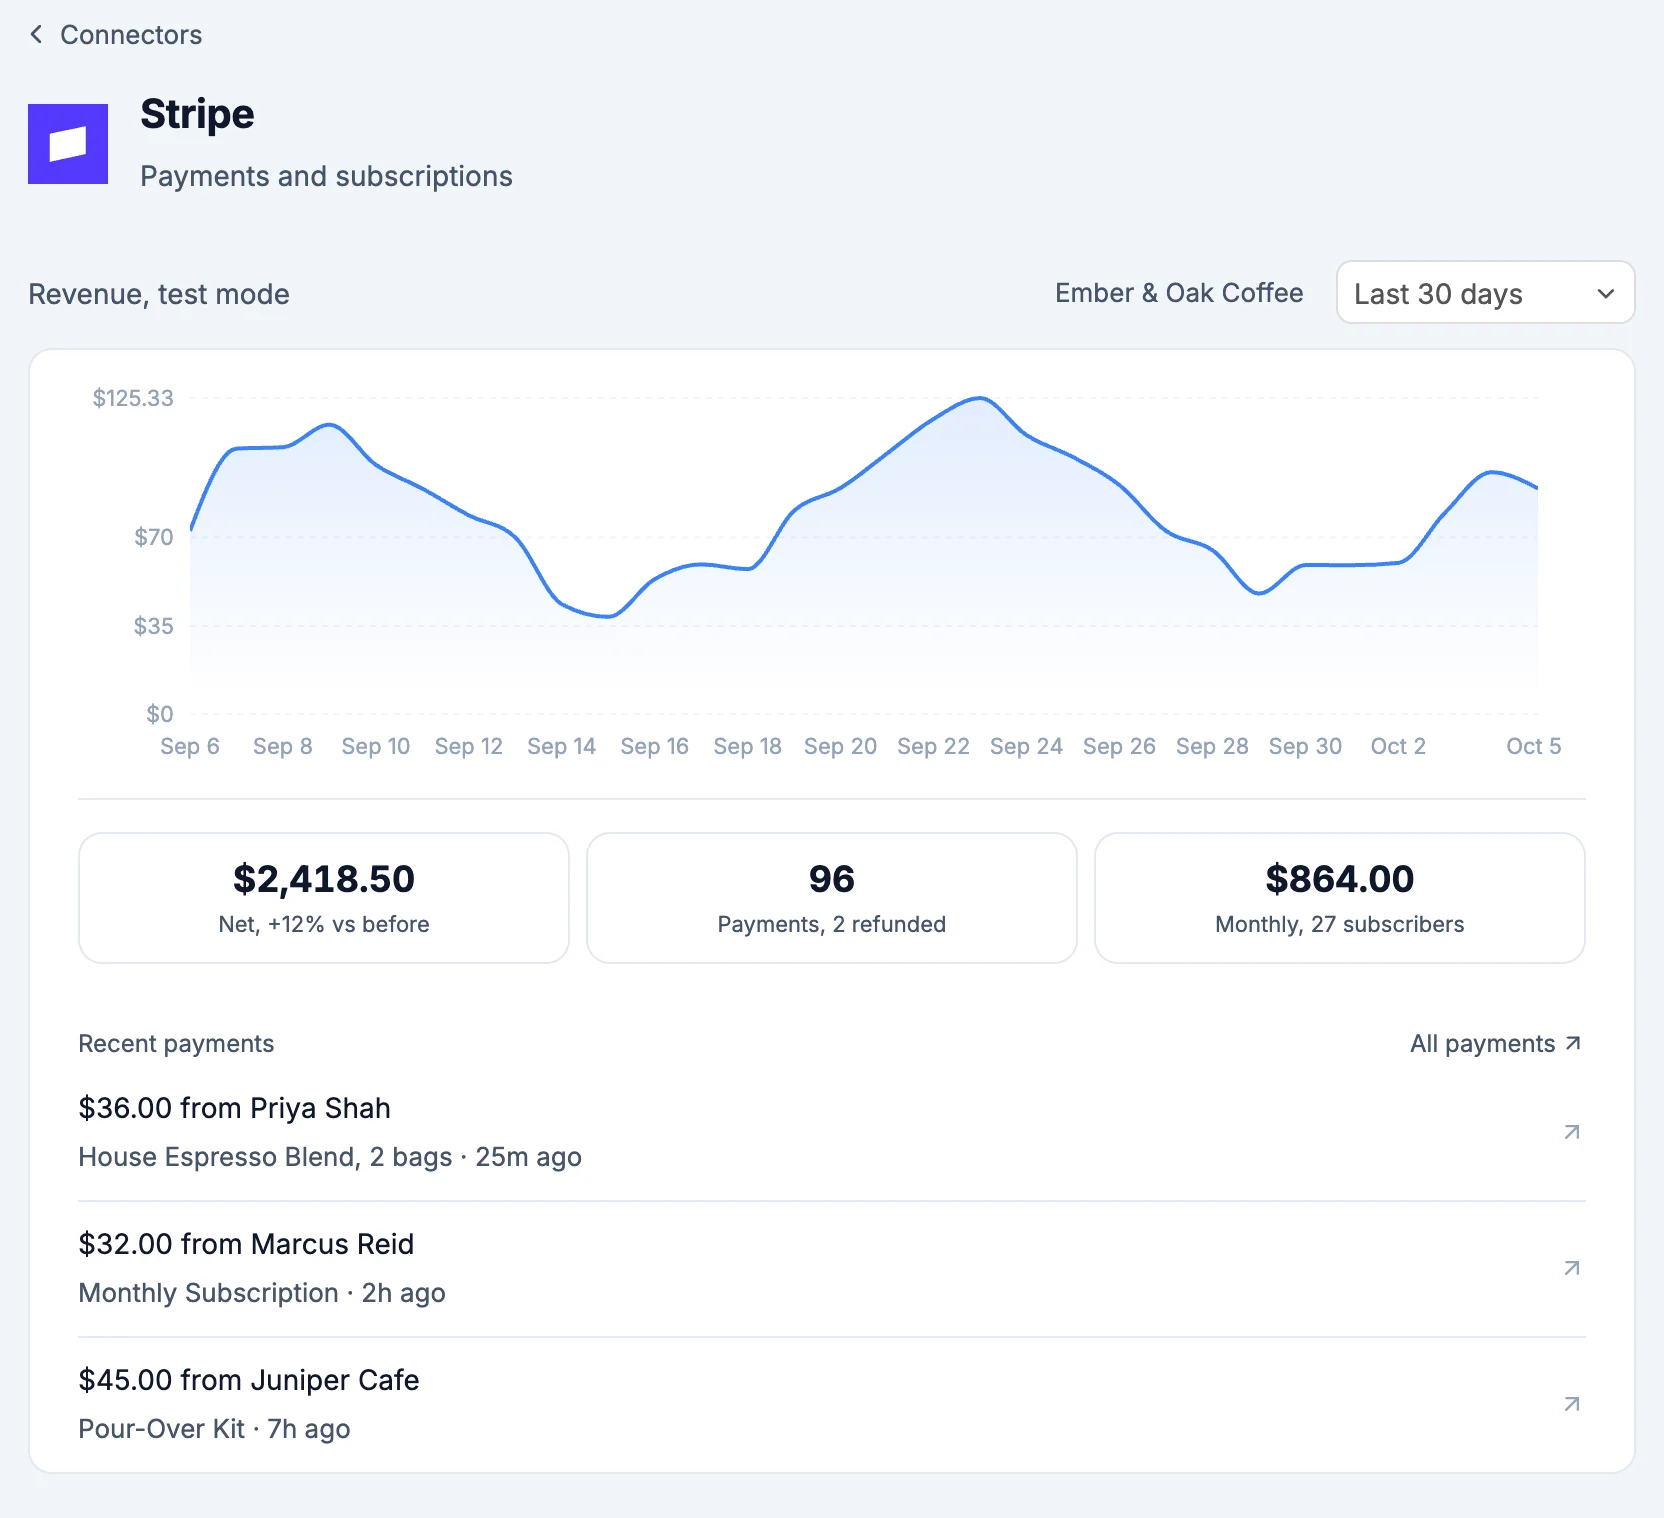
- Revenue: a chart for Last 7 days, Last 30 days or Last 12 months, with net revenue, the number of payments and refunds, and monthly recurring revenue. In test mode the heading reads Revenue, test mode.
- Recent payments: who paid, for what and when. All payments opens Stripe.
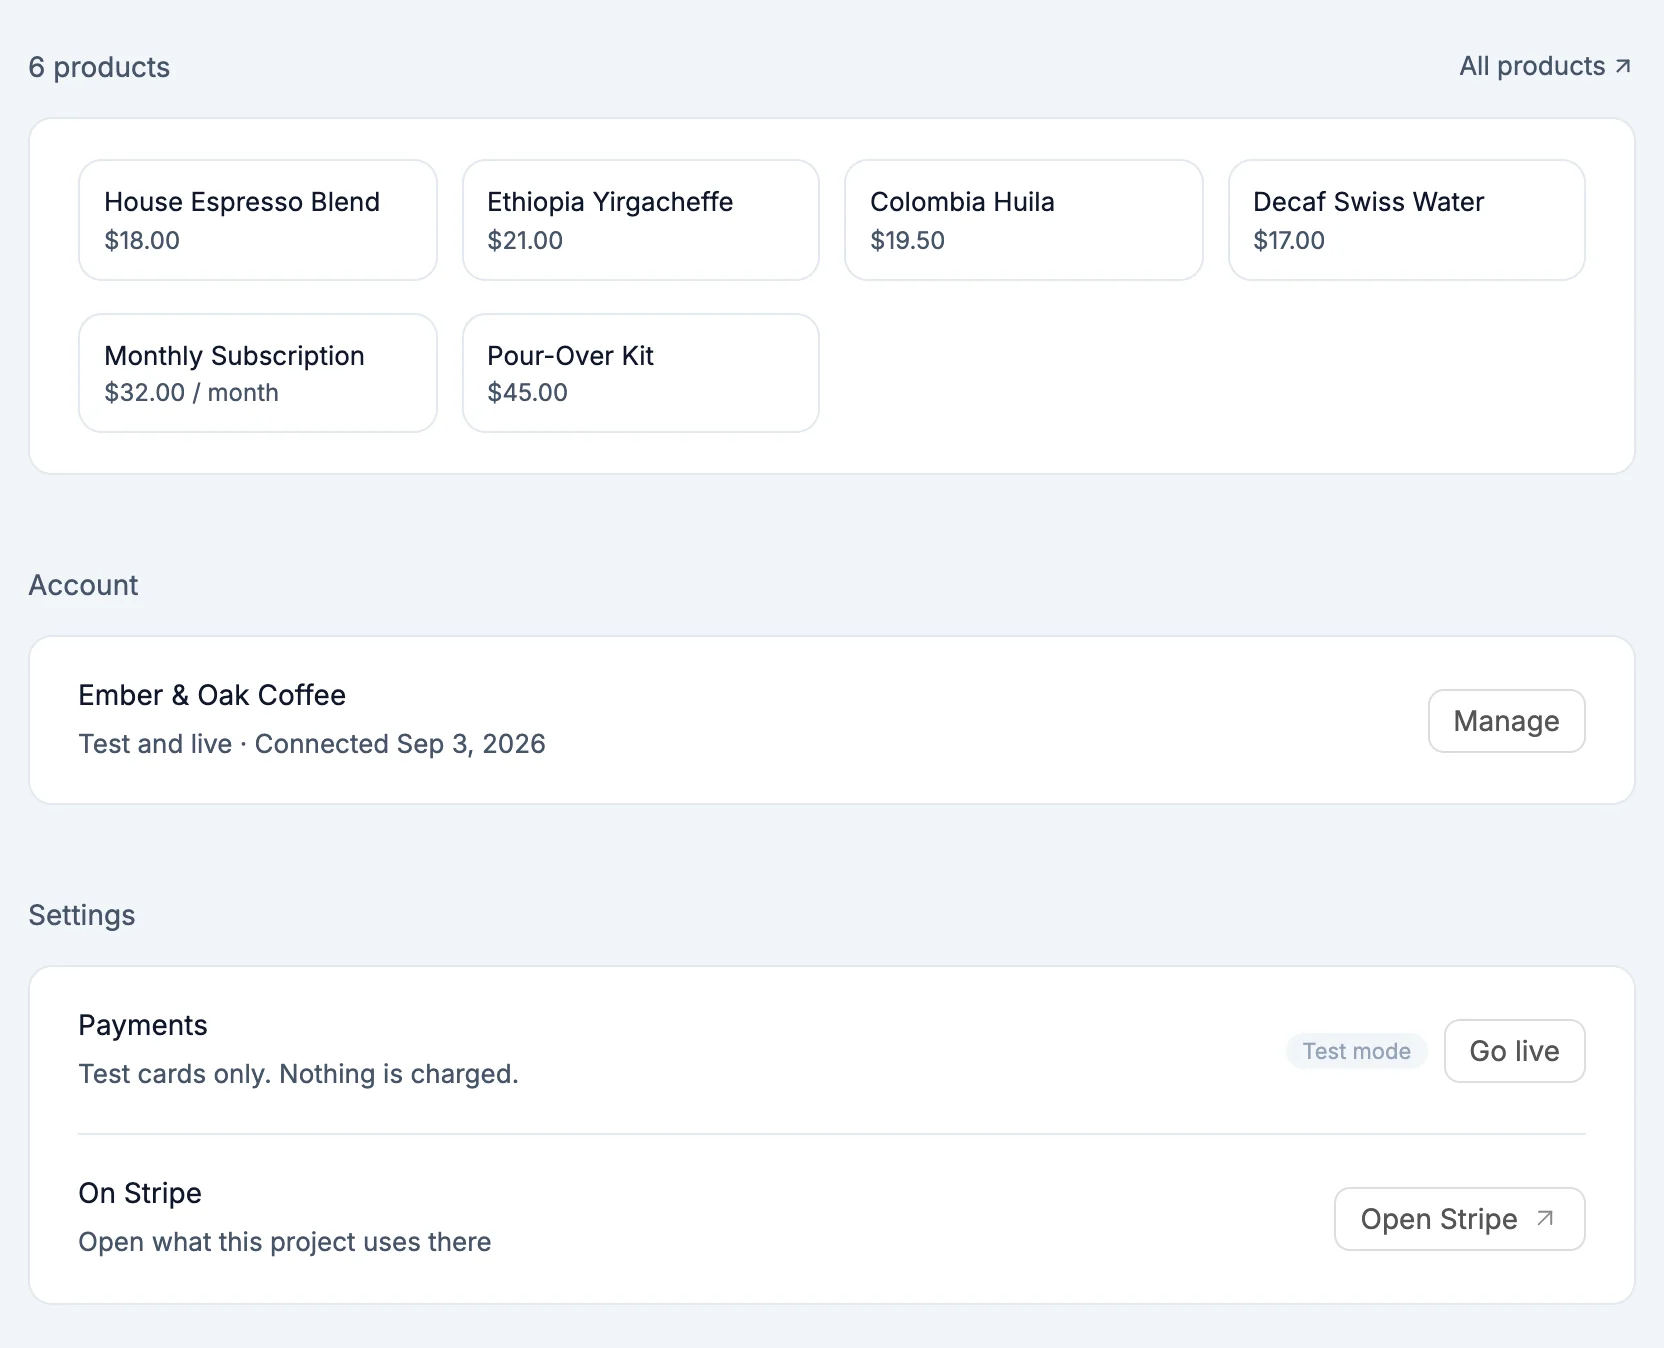
- Products: each product with its price. All products opens Stripe.
- Stripe needs your business details: shown when Stripe still needs something from you before real payments can start. Finish on Stripe takes you there.
- Settings:
- Payments: Test mode or Live. Go live opens a short confirm that says what happens: the published site starts charging real cards, your products and prices are copied to live mode, and Stripe may ask you to finish your business details first. A live project has Switch to test.
- Open Stripe opens your Stripe dashboard.
Test mode and live
Your preview always uses test mode, so you can try checkout without charging anyone. Pay with Stripe's test card 4242 4242 4242 4242, any future expiry date and any CVC.
Go live switches your published site to real payments. It takes effect the next time you publish.
What the AI can do
The AI works with your Stripe account through its own Stripe tool, and every action shows a card in the chat:
- Create products and prices, one at a time or a whole catalog at once
- Change a price. Your site shows the new one without a code change, and existing subscribers keep theirs.
- Make payment links and discount codes, and show which codes are active and how often they're used
- Show your payments, revenue and subscriptions
- Make sure payment events reach your published site
- Turn on Stripe's customer portal, so subscribers can cancel, change their card and see invoices
- Go live, or back to test
Going live always asks first. Once you're live, changes to products, prices and discount codes ask first too, and so does switching back to test.
Environment variables
NEXT_PUBLIC_STRIPE_PUBLISHABLE_KEY: your publishable key, safe to use in the browserSTRIPE_PUBLISHABLE_KEY: the same publishable key, for server code that expects this nameSTRIPE_SECRET_KEY: the secret key, server-side onlySTRIPE_ACCOUNT_ID: your connected Stripe account's IDSTRIPE_WEBHOOK_SECRET: checks that payment events really come from Stripe, server-side only
Good to know
- Removing Stripe from a project takes its keys out. Your customers, payments and products stay in Stripe.
- To charge into a different Stripe account, switch accounts under Account. See Switch or remove an account.